 |
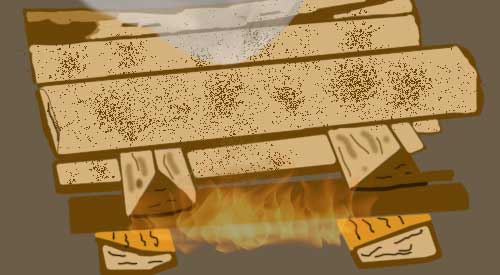
| Picking the ideal fire set up for cooking depends on circumstances- this is the cabin Style |
We are so lucky to have so many options for cooking our foods, not to mention the option to not cook at all! This got me thinking about the fact that we do rely on our outdoor equipment and cookware when it comes to outdoor cooking. Even if you’re a person who has experience campfire cooking, you likely do this style of cooking with one type of fire setup .
Let’s look at some of the options for setting up an outdoor fire that don’t include purchased equipment, just the natural elements found outdoors – rock, tinder, kindling, and logs/wood. As I always like to remind you, though you may not use this information immediately, you should read it and keep a reference handy for when a situation may arise that you need it, such as a natural disaster, power grid emergency or other such catastrophic event.
Setup #1: Trench Fire

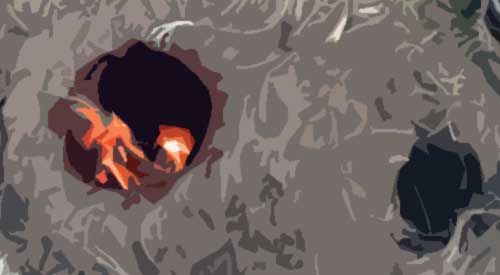
Setup #2: Dakota Fire Hole

Setup #3: Bushcraft Fire
This is an ideal fire setup when you know you can remain in a specified area for a longer time period. It is perfect for sustaining a fire for days as it includes flat rocks for cooking on, a rock surround for maintaining a safe fire area, and a keyhole channel made of rock that allows you to place larger logs for continuous burn. This produces a great bed of coals for cooking and if made against a rock barrier or tree stump, it can also provide the heat output necessary to keep you warm. Plus, you can simply push the long log pieces into the fire circle when additional wood is need for heat and/or coals. No need to keep splitting wood.Setup #4: Log Cabin Style
This is a familiar fire set up in the camping world. It is easy to do as you simply alternate pieces of wood from vertical positioning to horizontal, like building a Lincoln Log set, with tinder and kindling placed inside the base. This is a setup that produces a great bed of coals so it is perfect for cooking but depending on the amount of time you need for cooking, may require replenishment of wood.The Upside Down Fire
This setup is essentially a log cabin style setup in reverse. Instead of tinder placed under the base of the logs, it is placed on top. This is also known as a top-down fire. Although you can use this for cooking, I’ve found it doesn’t produce the best coal bed. It does, however, burn a long time.Other Fire Setups
There are some additional fire setups that you may be familiar with but are not considered ideal for cooking. These include:Tepee Fire: burns very hot and fast producing more ash than usable coals

The Star Fire: Although this can produce a very long burn, because of the extension of longer pieces of log in a star-shape to the center of the fire, a true cooking coal bed is not formed, just a lot of ash.
Additional Tips
As a final reminder when it comes to cooking by outdoor fire, you are not cooking with flame or for that matter, direct heat. Use the hot coals that are produced from the fire to cook with. That includes placing heat tolerant cookware on or in the hot coals, or even burying within the coals. The rocks are an energy absorber, producing a lot of heat. Clean, large rocks can be used like a griddle surface and have foods cooked directly on their surface. Remember, they get very hot so any unclean quality to them will be burned off with the heat.A final note, always have fire proof gloves available to grab log pieces in the fire or cookware placement and removal. A coal shovel is ideal as well for moving hot coals around. Don’t forget, when you’re finished with the fire you made, ensure that all hot embers and coals are extinguished.
Do you have a favorite method of stacking wood for a cooking fire? Leave us a comment to let us know. We welcome all types of questions and encourage you to follow and subscribe to our social channels so you don’t miss anything. We look forward to providing you with additional tips, techniques, recipes, and the science for all things wood-fired cooked.
No comments:
Post a Comment